
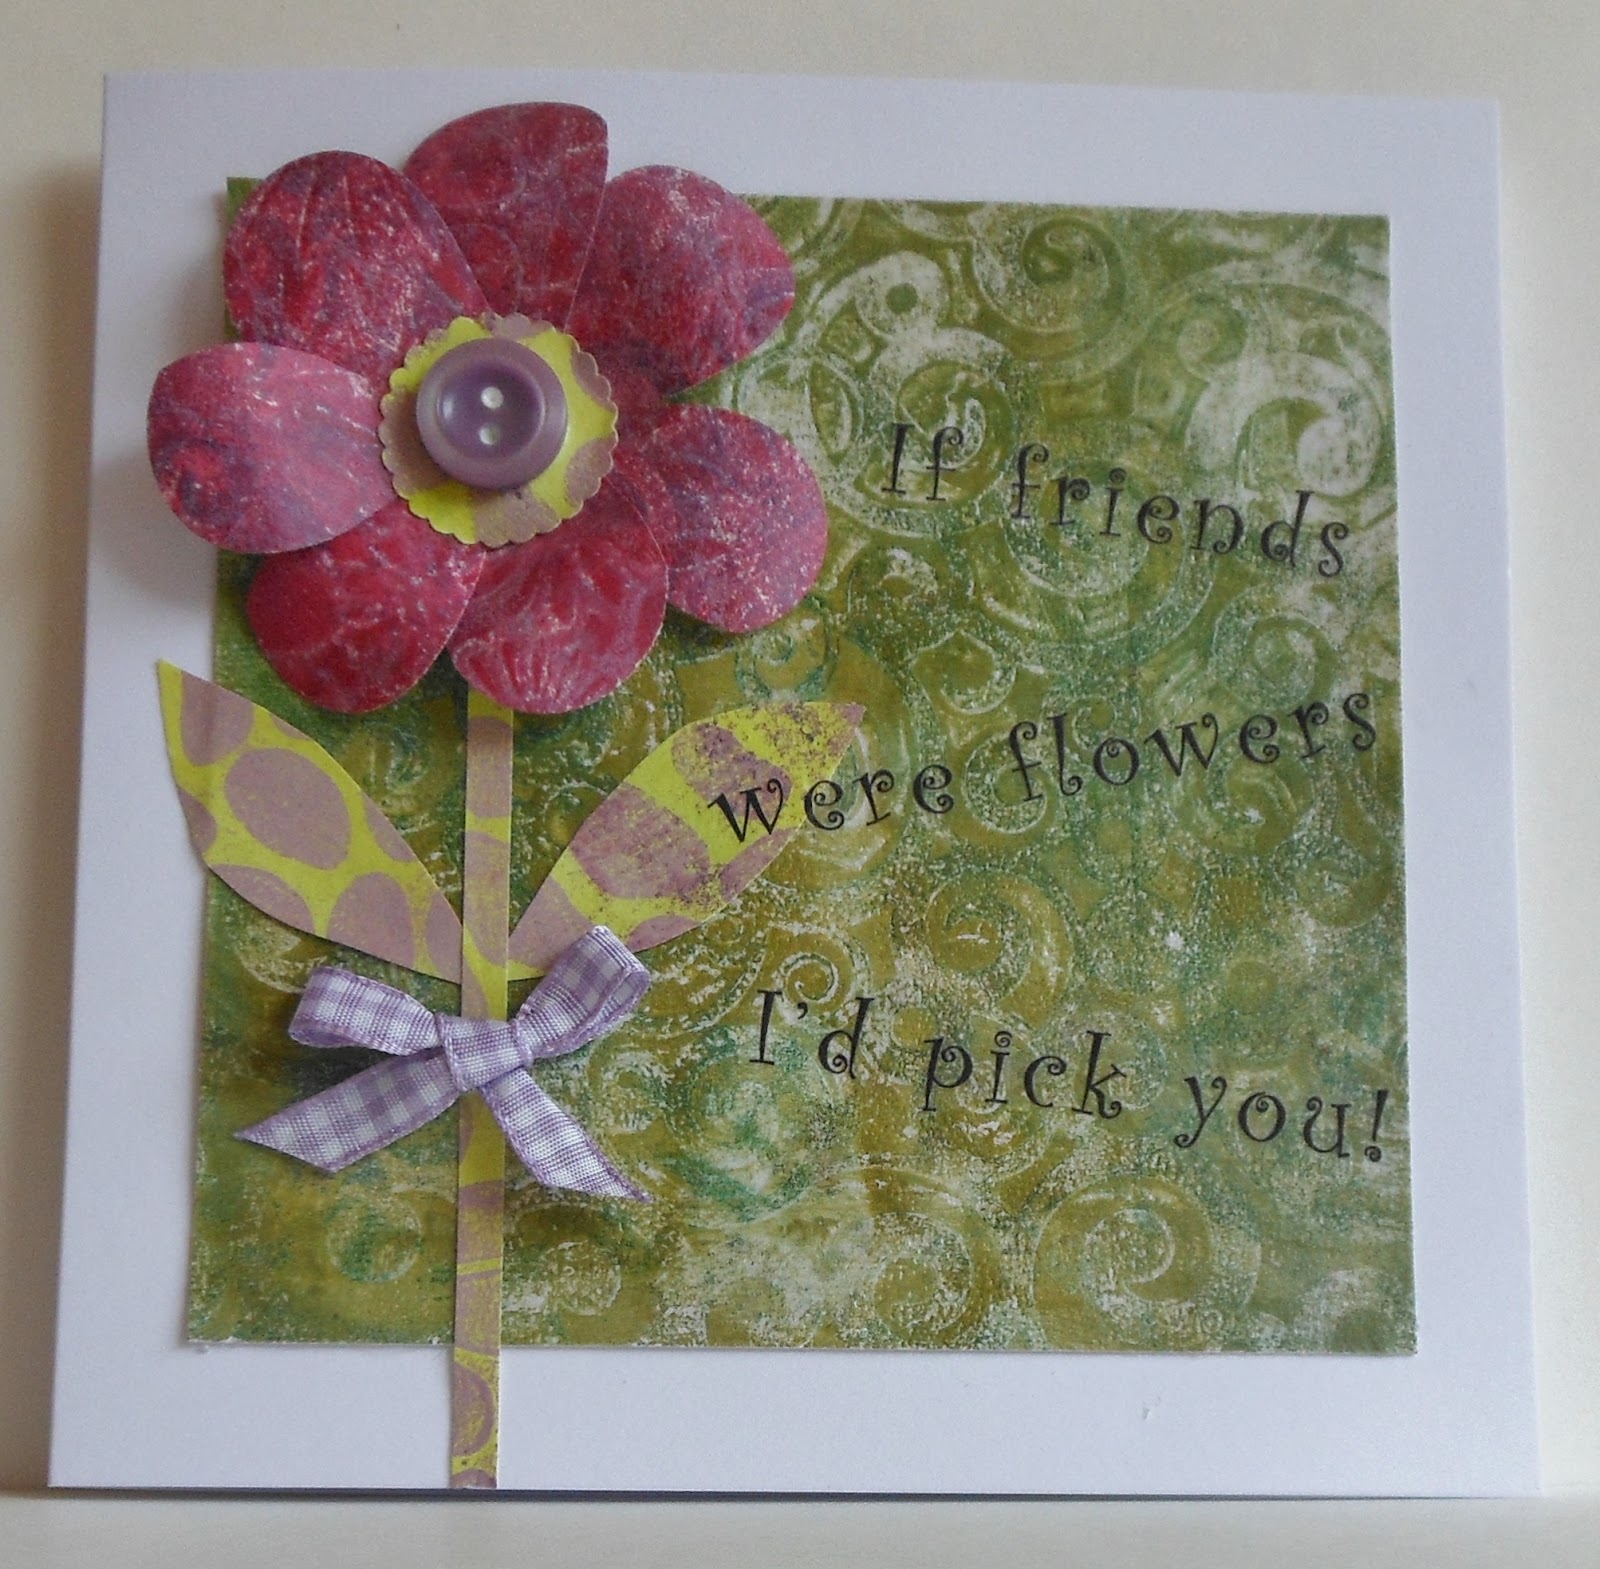
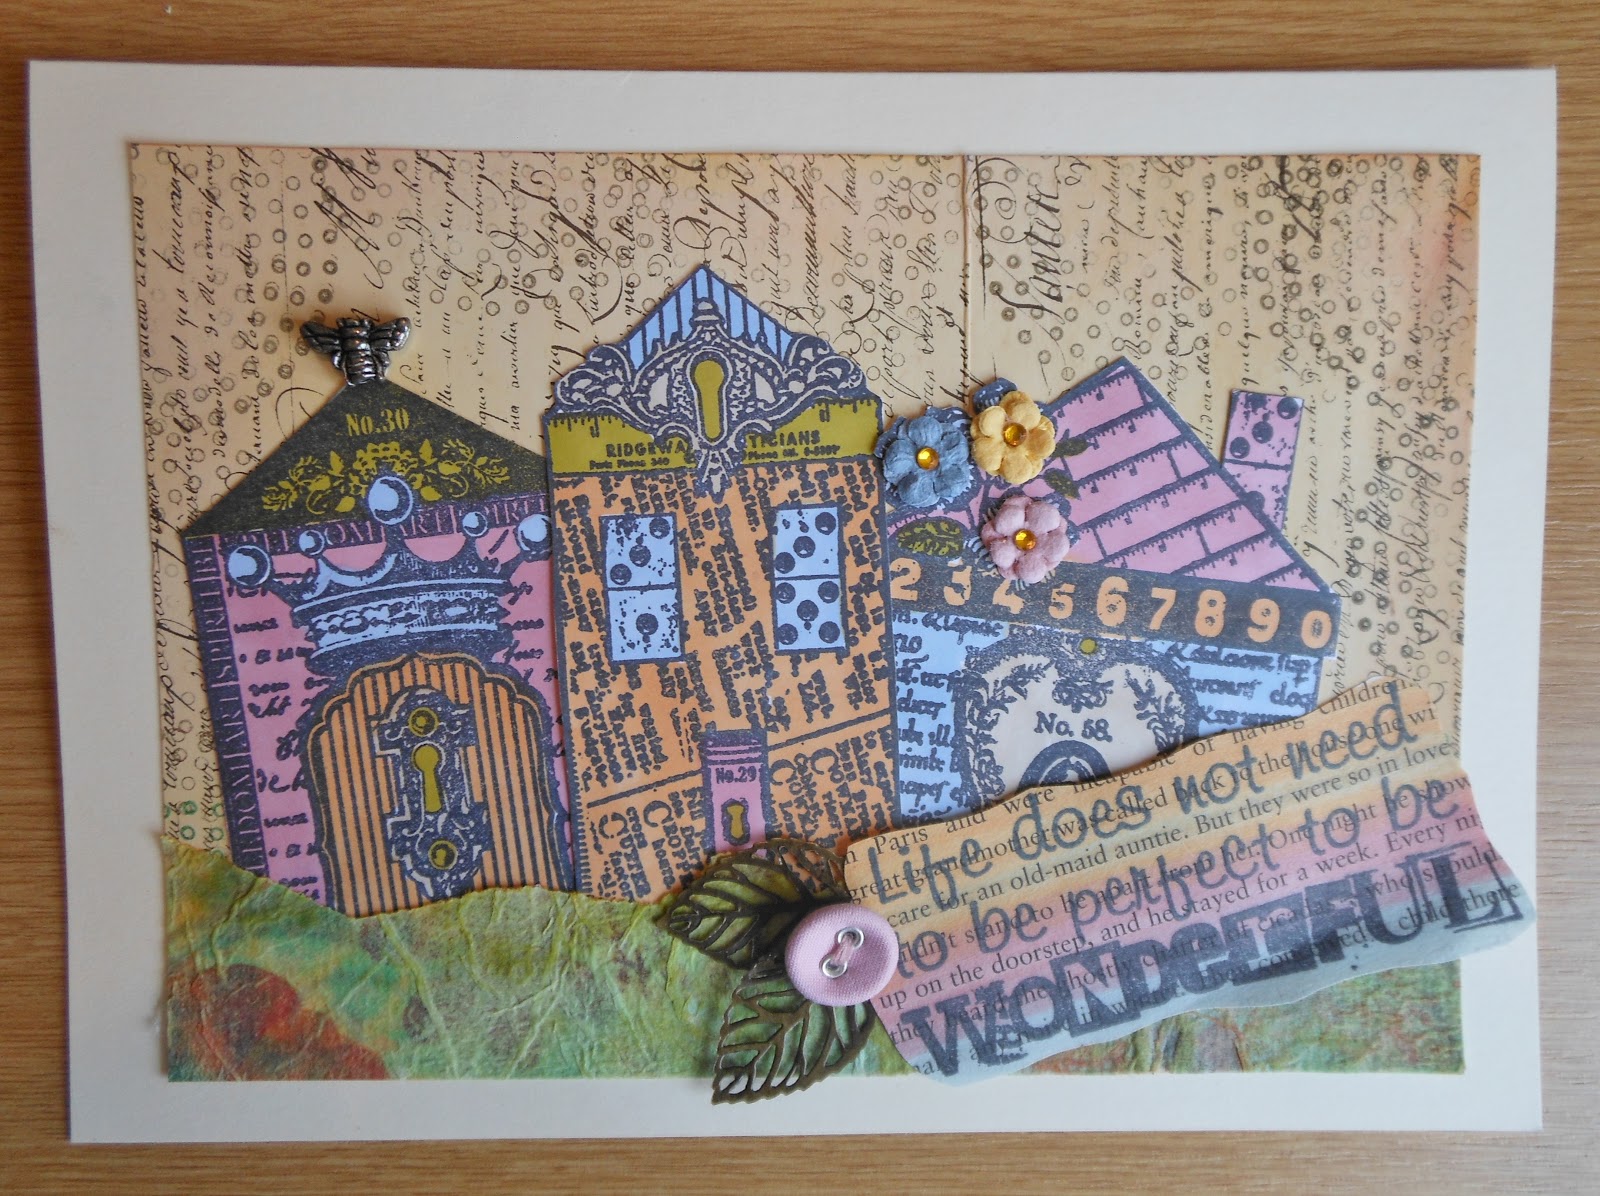
Paper Collage Tutorial

I like to work with thin layers as I tend to stitch through my collages. I back them with iron on vylene or bondaweb and fabric for stability. I make large sheets which can be cut down and used for a variety of projects.
Requirements
Plastic sheet that the collage can be left on overnight (bin bag is fine)
Collage papers - anything goes, music, book pages, letters, envelopes and printed papers.
Backing paper - brown paper or brown envelopes
Paper napkins with an assortment of designs
Printed tissue paper (optional) use the non glossy side.
Matt Medium or wallpaper paste
Large paintbrush
About the adhesive - If you use Matt Medium I tend to dilute it half and half so it is like milk. Wallpaper paste can be made up in a jar to a normal consistency. Don't be tempted to use PVA glue, it is too shiny and the collage will crack and flake.

About the papers - choose papers which are lightweight and not glossy, collect tickets, receipts, memorabilia and use all your patterned paper offcuts.

About the napkins - there are hundreds of paper napkin designs to choose from and also the little packets of printed tissues often have the same designs on a smaller scale. Napkins need to be spit down to the thinnest layer. Most napkins are three ply (three layers) this information will be on the packet. The two layers you remove can be stamped on with a permanent ink( script, swirls, flowers, music etc) and added to your collage
Always glue down your napkins with the wrong side uppermost as the print will be more subtle this way.
1. Scrunch and unfold your brown paper sheet several times until you have broken down the fibres. Spread the paper onto your plastic sheet.
2. Lay down torn scraps of printed papers and other collage papers, try to have torn edges on all sides of your scraps for a softer look. Apply generous amounts of glue below the scraps on over the top to secure. Try not to over think the layer as the next layer will cover large areas.

3. Next add the layer of napkin scraps. You can select areas of the napkin for your design or go for a more random look. Be careful when you glue these down, add plenty of glue and dab into place with the brush. Remember the napkins should be used with the print side down.

4. Allow the collage to dry overnight, it will dry lighter. Iron flat.
5. You can add colour to the dry collage with pencils to highlight areas. I give my collages a coat of acrylic wax to take away the dusky appearance. You can also coat with olive oil and allow to dry for a few days. Then iron over sheets of kitchen towel until there is no more surplus oil transferred.
Acrylic wax is available from Art Van Go
Acrylic wax is available from Art Van Go


.jpg)


